Add a section
This topic guides you on how to add a section to your mini service page and create a task for badge placement.
Overview
Define a section in the mini service page to recommend mini programs to users according to your requirement.
Before you start
- Log in to Mini Program Platform.
- Navigate to Operation -> Mini Service -> Mini Service Settings.
Procedures
To add a section to mini service, check the detailed steps below:
Step 1: Add a section
- To add a section, click Add Section.
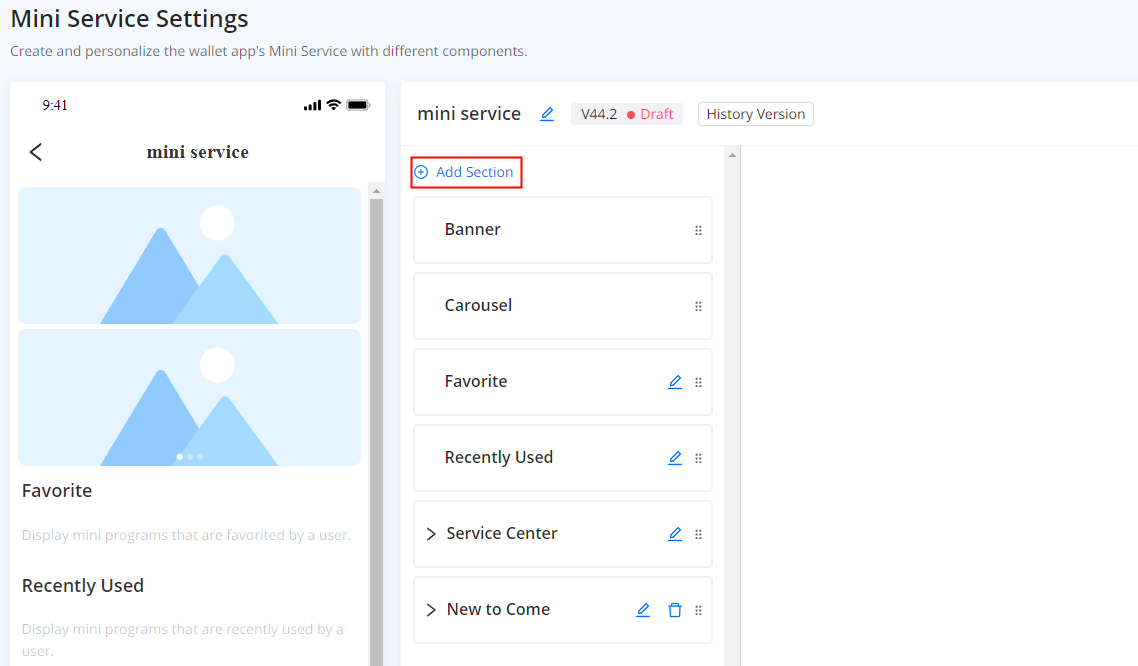
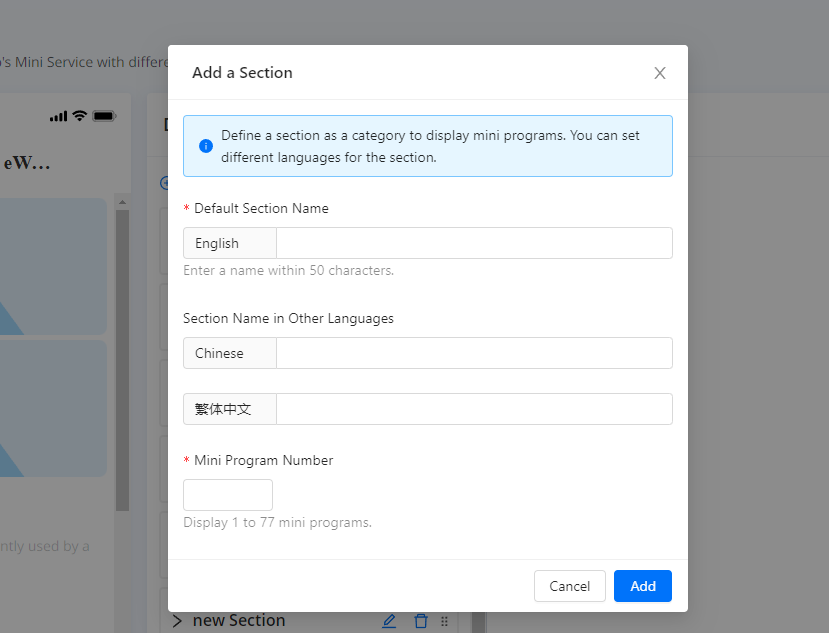
- On the Add a Section window, specify the section information as follows and click Add:
- Default Section Name: Set a default name in English for your section, within 50 characters.
- (Optional) Section Name in Other Languages: Specify the section name in different languages.
- Mini Program Number: Specify how many mini programs are to be included in this section.
Step 2: Add mini programs
- Scroll down to find the section you added and click Add Mini Program.
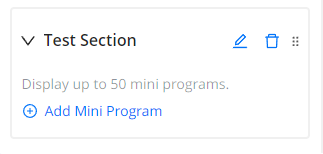
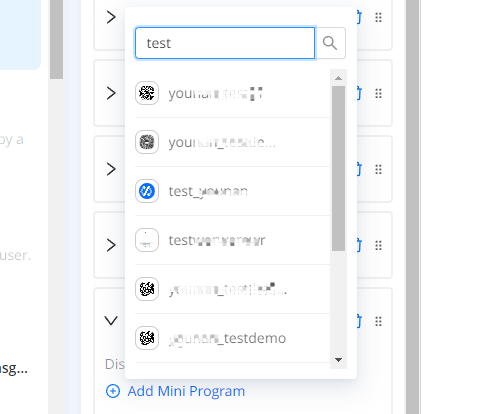
- On the pop-up, search for a mini program by name and click on it. The mini program is added to the section.
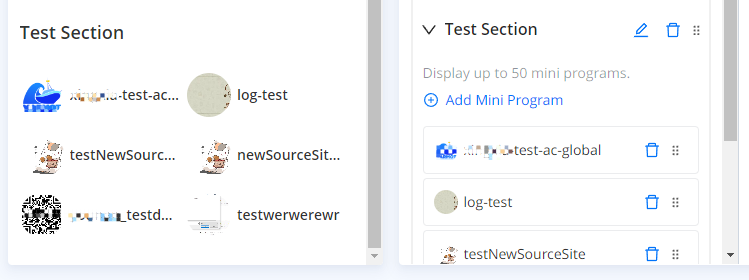
- You can view the mini programs added on the left. Click Save to save the configuration.
Step 3: (Optional) Create badge placement tasks
Mini programs in sections support badge placement tasks, where you can place text and image ads. This will make it easy to show users what's unique about your mini programs, so as to attract users to explore your business more.
To create a badge placement task, follow the steps below:
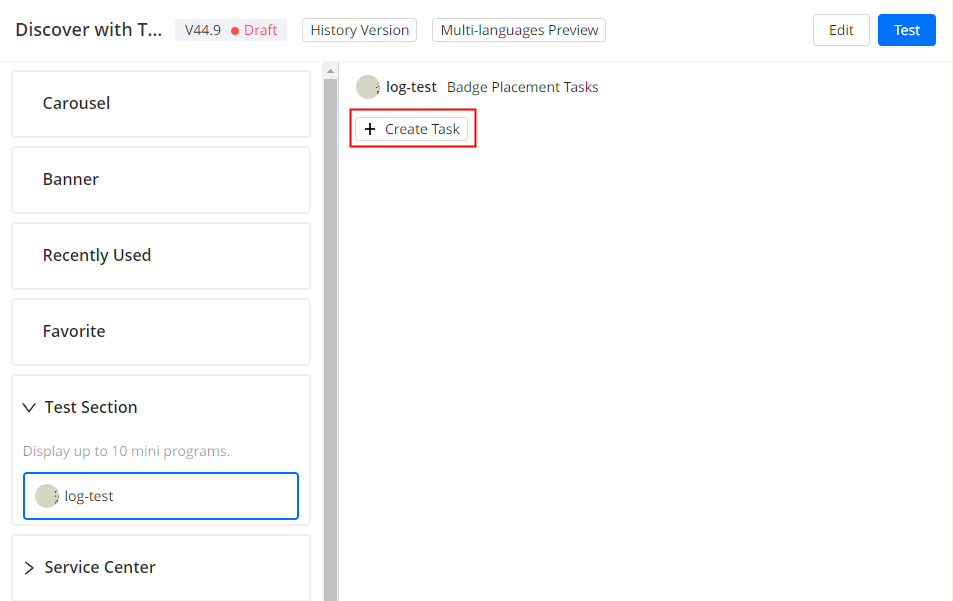
- In a section, click on a mini program you added, then click Create Task.
- Specify the following information and click Save:
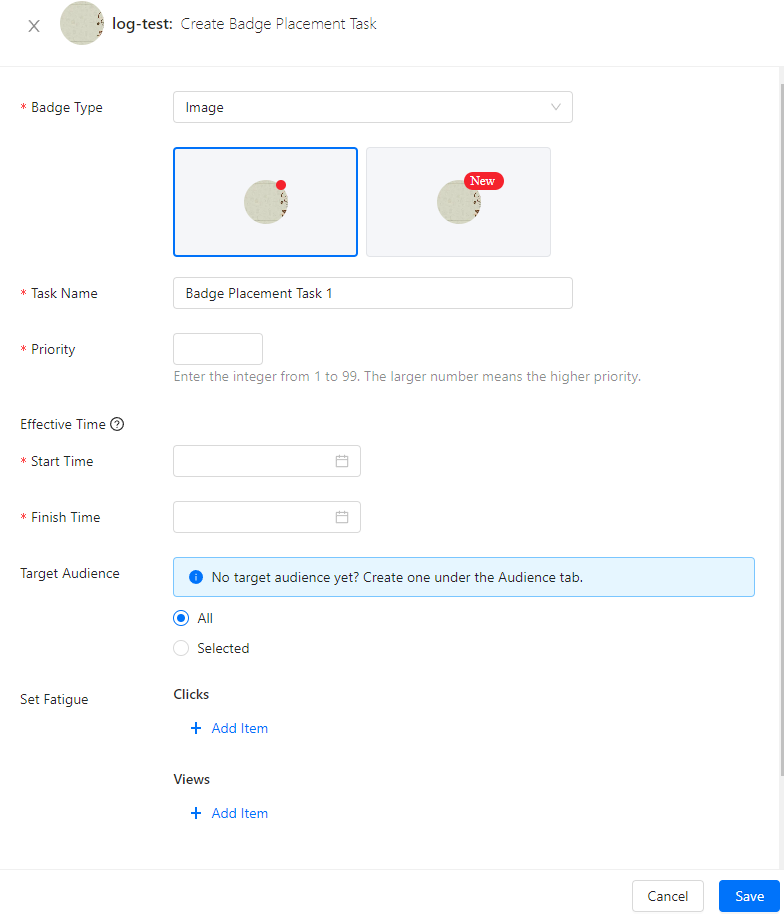
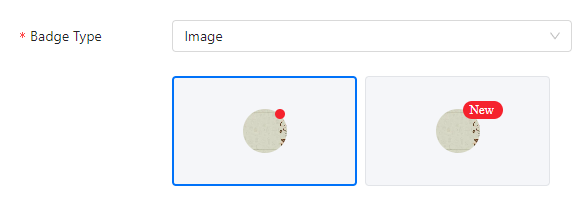
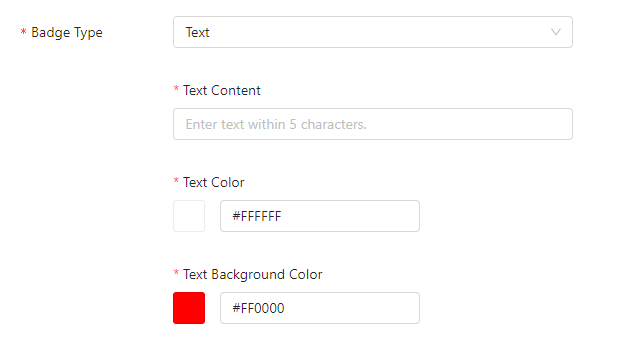
- Badge Type: There are two types supported: Image and Text.
- Image: There are two styles to choose from, including a red dot or New displayed in the top right corner of the logo.
- Text:
- Text Content: Enter text within 5 characters.
- Text Color: Specify a color for the text.
- Text Background Color: Specify a background color to highlight the text.
- Task Name: Enter a name for the task.
- Priority: Enter a whole name from 1 to 99. The larger number means the higher priority.
- Effective Time: The effective time is subject to the local time of the super app.
- Start Time: Select a start time to specify when the badge takes effect.
- Finish Time: Select a finish time greater than the start time to specify when the badge expires.
- (Optional) Target Audience: Select the audience who can see the badge. If you did not create an audience, navigate to the Audience tab to create target audiences.
- All: The badge is displayed to all audiences.
- Selected: The badge is displayed to the selected audiences. Click Select Audience to choose from the audiences you created.

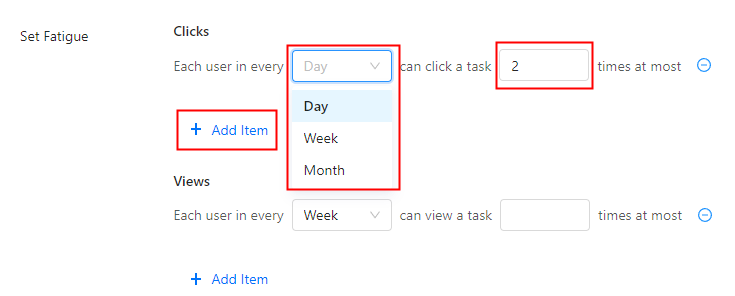
- (Optional) Set Fatigue: Click Add Item to set fatigue for Clicks and Views.
- Clicks: Determine how many times a user clicks on a mini program in a day, week, or month before the badge is no longer displayed. For example, Each user in every Day can click a task 2 times at most, which means each user can click on a mini program up to 2 times a day before the badge is no longer displayed.
- Views: Determine how many times a user views a mini program within a day, week, or month before the badge is no longer displayed.
